Logitech MX Anywhere Mouse – Fix That Click!
The Logitech MX Anywhere mouse is by far the best mouse I have ever had. I currently have 2. 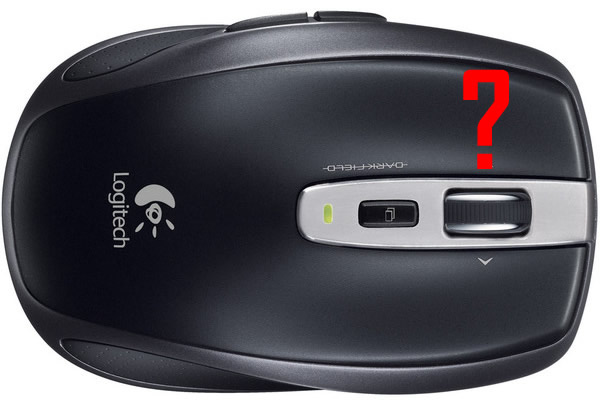 However, these mice have a common design flaw – the mouse button that is used most often (left in my case) for clicking dies after a while. Maybe design flaw is a bit harsh. This is the only mouse that I have had for a long time and WANT to keep. I don’t want another mouse because it is so good. So, it could just be that I use it so much, I’ve worn the switch out. The mouse is also relatively expensive compared to others. Most stores sell it for $70CAD but it can be found on sale from time-to-time. That said, I’m going to show you how to fix that dead switch.
The fix is reactively simple, but you need good soldering skills as you are working with small components, in a small area and with plastic that melts easily.
What you need:

1). Small Phillips screwdriver – something to work on small electronics.
2) Micro Switches – there are many out there, but you need to make sure you get the right ones for this mouse. I bought these on Ebay and they came in a pack of 2 (recommended) and they also slipped in a free set of feet for the base. Dimensions are 8.6mm (L) x 4.8mm (W) x 3.1mm (H).
3) A knife / thin blade to remove the feet
3) Soldering iron and a steady hand.
Step 1:
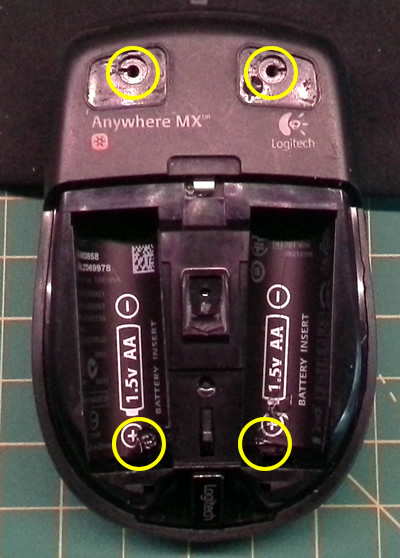
Remove the feet. There are 4 of them. You may be able to re-use them if you are careful when removing them. Use a thin and wide blade / knife to get under the foot and slowly pry up. Work your way around it.
Once the feet are removed, remove the 4 screws as shown below.
Step 2:
Pull the top cover off. Carefully pry starting from the back. You may have to get a fingernail in there to jog it loose. It should come apart easily.
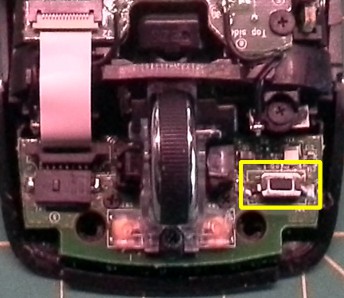
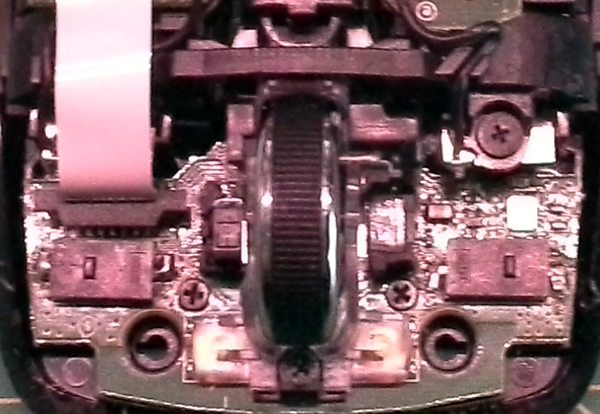
Locate the bad switch. In my case it was the left mouse click switch – below right in the yellow box. What you see below is the results of my first attempt to replace the original switch with another product. It lasted all of 2 months.
Step 3:
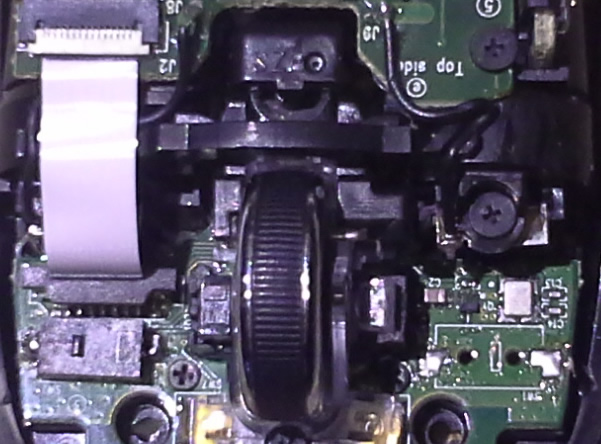
1) Carefully de-solder the existing switch. Tip. Wedge a fine scredriver or jackknife under the switch while applying the soldering iron to one of the contacts to heat it up. Carefully pry up while melting the solder. Don’t worry about getting it completely off yet. Just get the switch to bend up a bit. Then move to the other side and do the same. Go back and forth until the switch is removed. After this is done, the solder will likely be sticking up on each of the contacts. Heat it to make it smooth or to make a solder dome out of it. This will ready it for installing the new switch.
Step 4:
Notice the white box that outlines the switch location. Take the switch and place it in the box. Also take notice that the switch clicker needs to be closer to the right. Using a pair of pliers or small screw driver, lightly put pressure on one side of the switch and apply the soldering iron to one of the contact points. The solder will melt and the contact will sink into it under the pressure. Apply more pressure if necessary. You should only need to apply the soldering iron for 5 seconds or less. If you are using lead-free solder, you will want the temp around 700F. If it did not work, remove the heat for a bit to let the switch cool and try it again. Do the same for the other side. While you are doing this, ensure the switch stays in the white box.
Step 5:
You’re done. Re-assemble the mouse and install the feet. Get a beer, chocolate bar or whatever floats your boat and enjoy your rejuvenated mouse.


Comments: